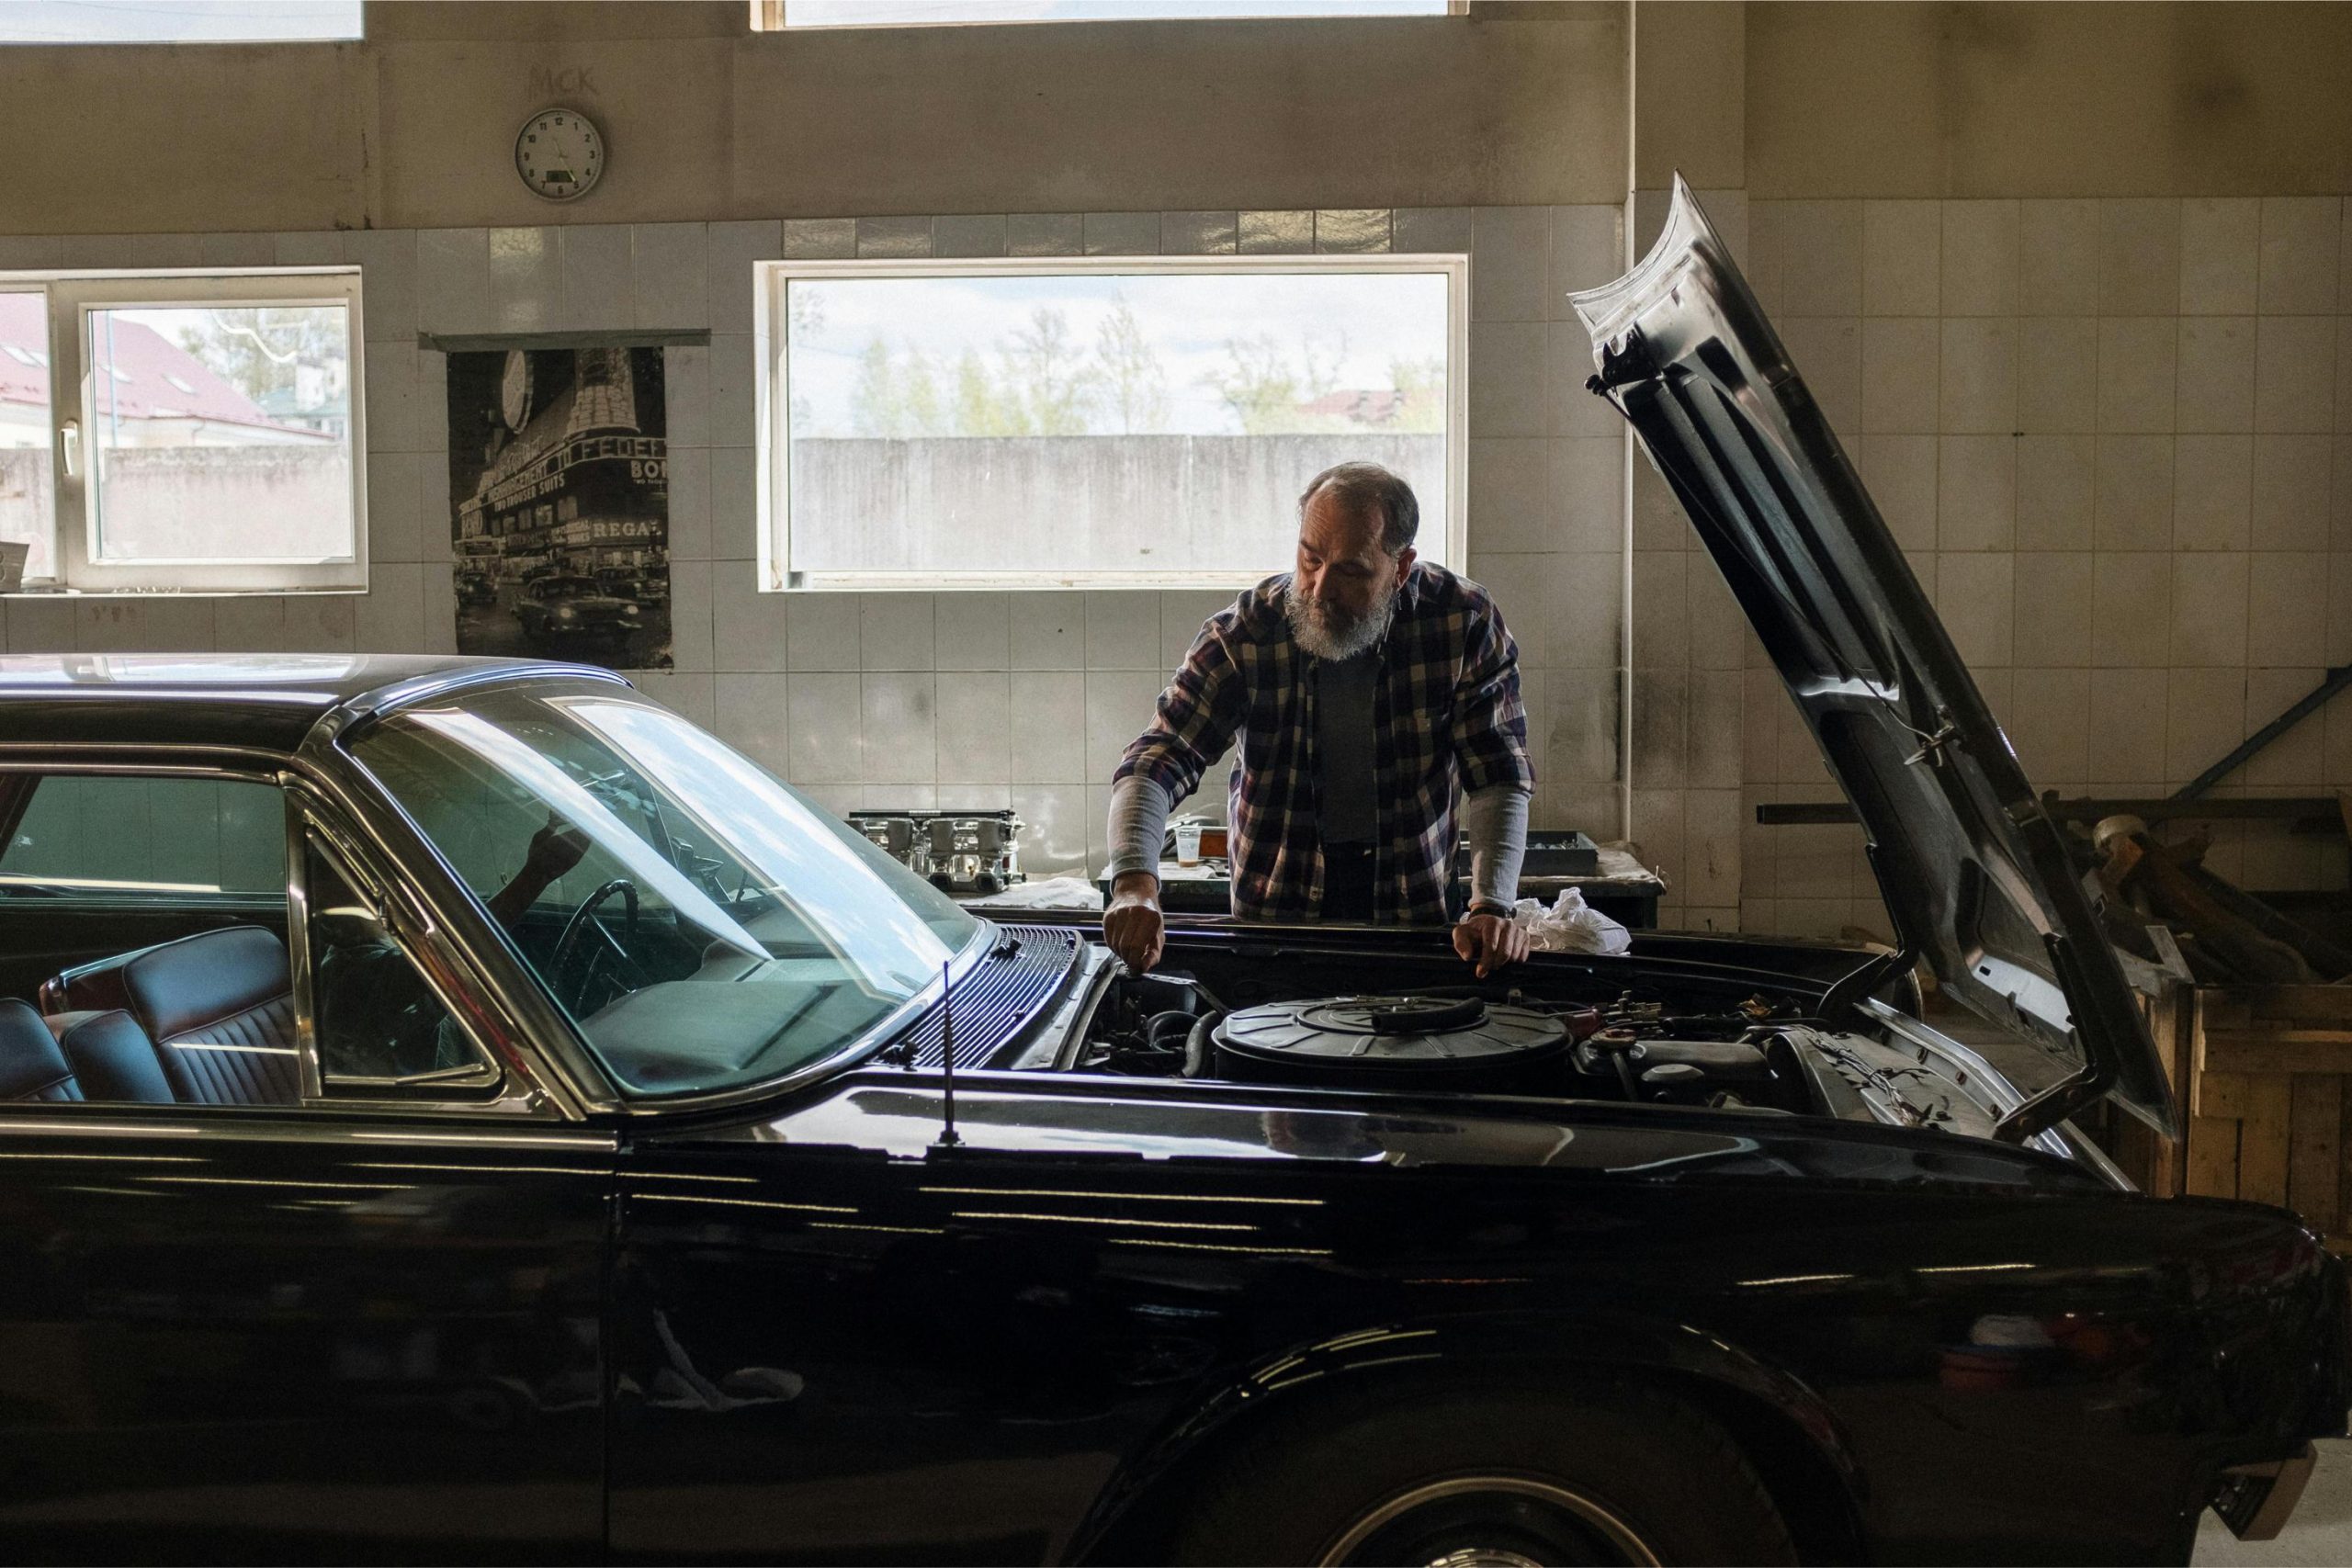
Facing your first major vehicle breakdown or unexpected mechanical failure is one of the most nerve-wracking experiences a car owner can endure. When your vehicle suddenly emits a alarming grinding sound, flashes a bright red warning light on the dashboard, or refuses to start altogether, the initial wave of stress can be overwhelming. For drivers who have never navigated the service bay before, the automotive service industry can feel complex, intimidating, and filled with unfamiliar terminology.
However, undergoing a significant vehicle fix does not have to be a blind gamble. Understanding how service facilities operate, how technicians diagnose issues, and how estimates are calculated transforms you from a vulnerable consumer into an empowered decision-maker. Taking a systematic, organized approach allows you to protect your financial interests, communicate clearly with mechanics, and ensure your vehicle is restored to safe, reliable operating condition.
Preparing for a major service event requires looking past the immediate panic of a broken-down vehicle. By mastering emergency roadside transportation, learning how to describe symptoms effectively, evaluating itemized quotes, and conducting a meticulous final inspection, you can navigate the entire process with complete confidence.
Handling the Initial Emergency and Transportation
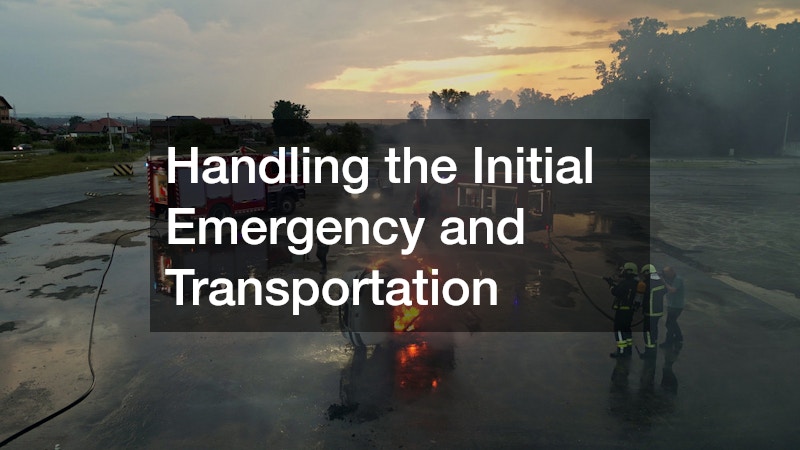
The journey through a major repair almost always begins with a sudden roadside emergency or a mechanical failure that renders the vehicle unsafe to drive. How you manage those first few critical minutes on the shoulder of the highway sets the tone for the entire process. Your absolute top priority must always be personal safety, followed immediately by preventing further damage to your vehicle’s engine, transmission, or structural frame.
If your car experiences a severe sudden failure while in motion—such as a complete loss of power, severe overheating, or steering instability—pull off the road onto a wide shoulder as quickly and safely as possible. Make sure you are not missing any essential auto parts. Turn on your hazard lights immediately to warn oncoming traffic. If you suspect an active fluid leak, smoke coming from under the hood, or severe mechanical binding, turn off the ignition right away. Continuing to run an engine that has lost oil pressure or cooling fluid can turn a minor, fixable component failure into a complete engine destruction event costing thousands of dollars extra.
When a vehicle is completely immobilized, arranging professional transport is your only safe option. Using specialized towing services ensures your vehicle is lifted and secured correctly, preventing secondary damage to lower body fairings, driveshafts, or suspension linkages. Before calling for a flatbed or hook-and-chain truck, check your auto insurance policy, vehicle warranty coverage, or credit card benefits, as many include complimentary roadside assistance up to a certain mile radius.
Once transport is secured, selecting the right destination facility becomes your next immediate decision. While general neighborhood garages can handle basic routine oil changes and tire rotations, complex component failures require well-equipped auto repair shops that possess specialized diagnostic computers, vehicle-specific technical databases, and certified master technicians. Choosing a shop with established regional credentials guarantees that your vehicle will be handled by trained professionals using proper equipment.
- Save emergency contacts in advance: Program your insurer’s roadside assistance number and your preferred local service shop into your phone before a breakdown occurs.
- Know your insurance transport radius: Verify how many miles of free transport your policy covers so you don’t face unexpected out-of-pocket mileage fees.
Communicating Symptoms and Approving Diagnostics
When you arrive at the service center, you enter the intake and diagnostic phase. One of the most common mistakes first-time customers make is trying to self-diagnose their vehicle’s problem based on internet searches or casual advice from friends. Telling a service writer to “replace the alternator” when the real problem is a corroded ground wire can lead to unnecessary component replacements and wasted money.
Instead of guessing the mechanical solution, focus entirely on describing the physical symptoms with as much precise detail as possible. Pay close attention to sensory cues: What did you hear, smell, or feel right before the failure occurred? Was it a high-pitched squeal, a heavy metallic clunk, or a rhythmically repeating thud? Did the steering wheel vibrate, or did the brake pedal feel soft and spongy? Note the specific operational conditions under which the symptom appears, such as whether the engine was cold, if you were traveling at highway speeds, or if the noise only happened during left-hand turns.
Modern vehicles rely on complex electronic networks, and addressing specific brand architectures requires specialized diagnostic software. For example, if you drive a Japanese import, seeking out a facility that regularly performs specialized toyota repair ensures the technicians use factory-grade diagnostic scanners capable of reading deep manufacturer trouble codes that generic handheld scanners often miss. These specialized tools save hours of manual labor by pinpointing failing sensors and electronic modules instantly.
Before the shop begins taking your engine apart or running electrical continuity tests, you will be asked to approve a diagnostic fee. Diagnostic fees cover the technician’s time, specialized testing tools, and physical labor required to identify the root cause of a failure. Always establish a clear, written dollar limit for diagnostic work upfront, and instruct the advisor that any teardown exceeding that limit requires your explicit verbal or written authorization first.
- Keep a symptom log: Write down exact details about when the issue occurs so you can hand a clear, chronological note to the service advisor.
- Take video or audio clips: If your vehicle makes a strange noise intermittently, record a quick video on your phone to play for the shop foreman.
Evaluating Estimates and Component Sourcing
Once the diagnostic testing is complete, the service advisor will contact you with a formal cost estimate. For a first-time car owner, looking at a comprehensive estimate can feel confusing. A professional estimate should always be fully itemized, separating labor costs from physical parts, environmental disposal fees, shop supplies, and local sales taxes.
Labor rates in the automotive industry are generally billed using a “flat-rate” system. Industry databases establish a standard number of labor hours required to perform a specific procedure based on vehicle year, make, and model. For instance, if a water pump replacement is rated at 3.5 labor hours, you will be charged for 3.5 hours of labor multiplied by the shop’s hourly rate, regardless of whether the technician finishes the job in two hours or four. Understanding this structure helps you evaluate whether a shop’s labor charges are fair and standard for your region.
When reviewing the parts section of your quote, pay close attention to the source and grade of the components being installed. High-quality auto repair services will offer options regarding part selection, explaining the differences between Original Equipment Manufacturer (OEM) parts—which come directly from your vehicle’s factory maker—and high-grade aftermarket components built by third-party manufacturers. OEM parts fit perfectly and carry factory warranties, but high-tier aftermarket parts often match OEM quality at a significantly lower price point.
Nowhere is component selection more critical than when maintaining your vehicle’s essential stopping system. If your diagnostic inspection reveals deeply scored rotors, thin pads, or a leaking hydraulic caliper, authorizing a comprehensive brake repair using premium friction materials is vital for road safety. Skimping on low-grade friction pads can lead to severe brake dust buildup, annoying squealing noises, and reduced stopping distances during wet weather.
- Request a fully itemized written quote: Never accept a vague verbal total over the phone; insist on seeing a digital or printed breakdown of parts versus labor.
- Ask about part replacement grades: Ask the advisor if using a high-quality aftermarket brand could save you money without compromising quality or safety.
Navigating Cosmetic, Body, and Structural Repairs
Not all major vehicle repairs are strictly limited to mechanical components like engines, transmissions, and cooling systems. If your car was involved in a parking lot fender bender, hit by falling debris, or damaged in a low-speed accident, you will be dealing with body shops and structural specialists. Cosmetic and structural restoration involves entirely different procedures, equipment, and insurance workflows than mechanical service.
When a vehicle suffers impact damage, unseen structural issues often lurk beneath crumpled sheet metal. A proper repair plan requires disassembling the damaged area to inspect the underlying bumper reinforcement bars, radiator supports, and unibody frame rails. Entrusting your vehicle to a dedicated collision repair center ensures that technicians utilize computerized frame-measuring systems to pull structural metals back to precise millimeter-level factory tolerances, preserving crash safety compliance for future impacts.
Once structural alignment is confirmed, aesthetic restoration begins. Refinishing replaced or repaired panels so they match your vehicle’s existing paint requires advanced chemical mixing and environmental control. Choosing a facility equipped with a specialized car paint service ensures that painters use computerized spectrophotometers to account for sun fading and paint oxidation on your car’s remaining panels. Spraying paint inside temperature-controlled down-draft booths bakes the finish to a factory-hard shine that resists chipping and fading over time.
For minor surface impacts where the original factory paint finish remains completely uncracked, traditional body filler and repainting are often unnecessary. In these cases, opting for specialized auto dent removal service using Paintless Dent Repair (PDR) techniques saves significant time and money. PDR technicians utilize specialized metal rods and suction tools to carefully massage shallow dings back into shape from behind the panel, preserving your original factory clear coat and preventing the need for costly panel repainting.
- Verify structural measuring tools: Ask if the body facility utilizes computerized 3D measuring systems to verify that the unibody frame is straight.
- Inspect paint blending transitions: Ensure the estimate includes blending paint onto adjacent undamaged panels so the color match looks seamless under sunlight.
Handling Specialized Glass Fixes and Final Inspection
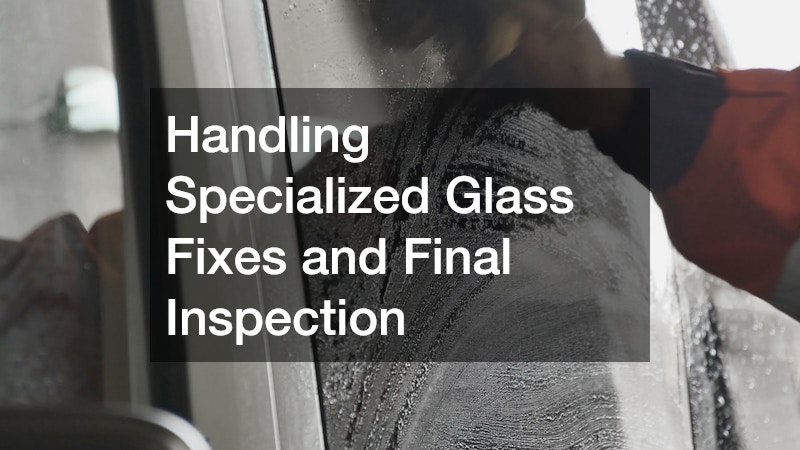
The final phase of preparing for a major repair involves addressing specialized components—such as safety glass and electronics—and conducting a rigorous quality-assurance walkthrough before paying your bill. Glass damage is a frequent side effect of major road incidents or highway debris strikes, and compromised windshields represent a major structural safety hazard.
Modern windshields are far more than simple pieces of laminated glass; they are integral structural components that support the roof during a rollover crash and provide backing support for passenger airbag deployment. Furthermore, modern vehicles feature Advanced Driver Assistance Systems (ADAS) with cameras and radar units mounted directly behind the glass. Contracting a certified auto glass company guarantees that the replacement glass meets strict safety standards and that all forward-facing cameras for lane-keep assist, adaptive cruise control, and automatic emergency braking are recalibrated accurately.
Once all mechanical, body, and glass work is complete, you will receive a call stating that your vehicle is ready for pickup. Never simply pay the bill, grab your keys, and drive off without performing a thorough personal inspection. Arrive at the facility during daylight hours so you can clearly examine all work done on your car. Begin with a visual walk-around, checking that panel gaps are even, paint colors match seamlessly under natural light, and all trim pieces are securely fastened.
Before signing the final release forms or tendering payment, ask the service writer to accompany you on a brief 5-minute road test. Drive the vehicle across various road conditions—including a quick stretch of highway if possible—to verify that the original symptom is completely resolved. Listen for unusual noises, feel for steering vibrations, and verify that no new warning lights have illuminated on the instrument cluster. Taking these cautious steps ensures that any lingering issues are addressed immediately while you are still at the shop.
- Confirm ADAS camera calibration: Ensure the shop provides a digital calibration report showing that windshield-mounted safety cameras were reset properly.
- Inspect the interior cabin cleanliness: Check that grease, dirty handprints, or floor mat debris were cleaned up by the detailing crew before pickup.
Returning to the Road with Confidence

Navigating your first major vehicle repair is a major milestone in car ownership. While an unexpected mechanical breakdown or collision is undoubtedly stressful, approaching the situation with knowledge, preparation, and clear communication turns a chaotic crisis into a manageable maintenance task.
By asserting control over how your vehicle is transported, clearly describing physical symptoms without guessing, evaluating estimates line by line, and verifying final repairs in person, you safeguard both your vehicle and your bank account. The experience you gain during your first major service stays with you for life, giving you the skills, confidence, and authority needed to manage any vehicle challenge that lies down the road.